
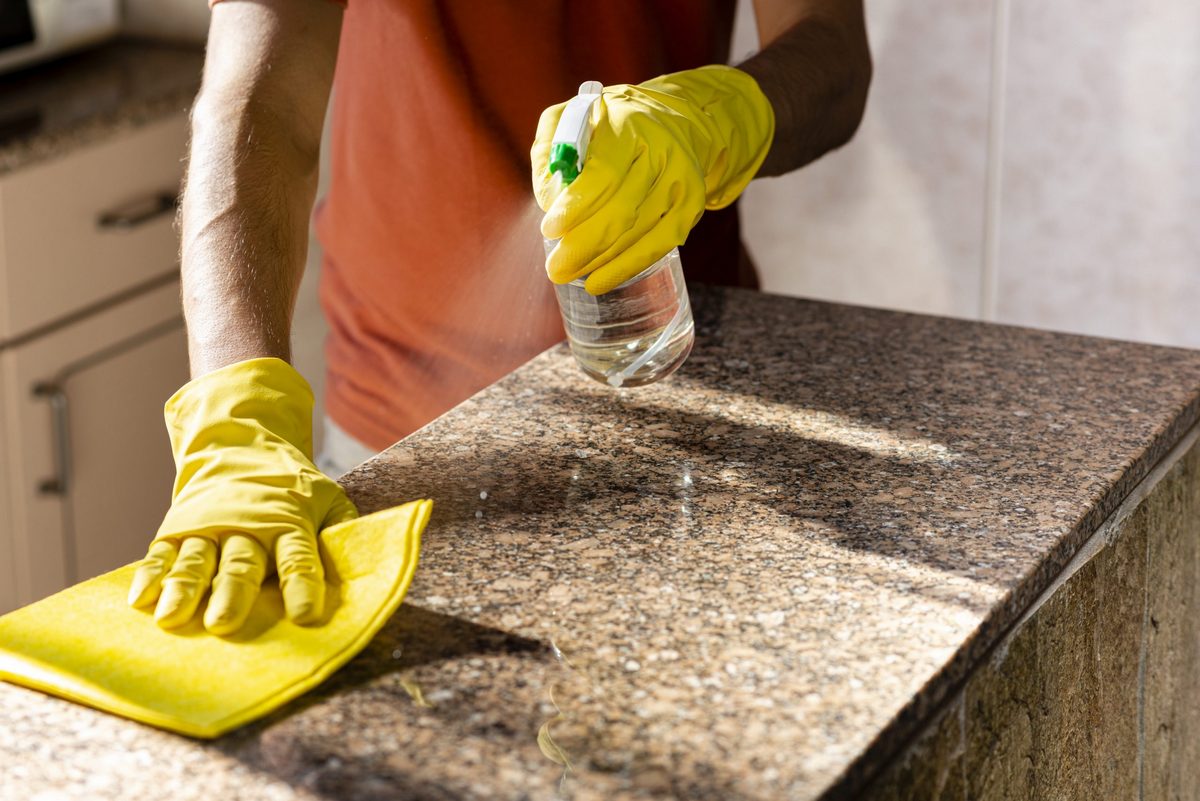
Granite remains one of the most durable choices for kitchen and bathroom surfaces. Its natural density handles heat, resists daily friction, and adds genuine value to any property.
Natural stone possesses microscopic pores beneath its polished exterior. Liquid spills, kitchen grease, and dark pigments can seep into these pores without adequate barrier protection.
Properly sealing granite countertops protects natural stone against moisture and oil penetration. Regular treatment preserves the factory polish, stops deep staining, and keeps your counters hygienic for decades.
Understanding granite countertop sealing
Granite forms deep underground under extreme heat and pressure. It consists of quartz, feldspar, mica, and various secondary minerals. This mineral blend leaves tiny internal channels between crystals.
Unsealed stone draws in standing fluids through capillary action. Spilled olive oil, red wine, coffee, or citrus juices can enter these channels within 15 min. Once liquids penetrate deep into the stone, removing them requires complex chemical poultices.
Penetrating sealers prevent this absorption. Unlike surface coatings, an impregnating sealer does not sit on top of the counter. It sinks deep into the pores and bonds directly to the stone matrix.
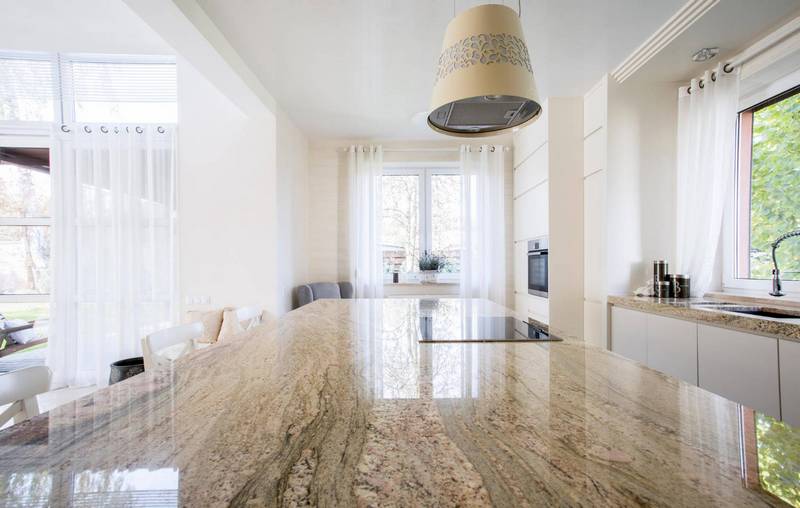
Routine granite countertop sealing forms an invisible shield beneath the polished face. This shield repels both water and oil based liquids. The liquid beads up on the surface instead of sinking into the rock.
Impregnating sealers leave the stone vapor-permeable. This breathability allows trapped moisture inside the slab to evaporate harmlessly into the room. It also prevents internal stone rot and keeps the natural color completely stable.
Topical sealers create a plastic film over the stone surface. These films scratch easily, trap moisture inside the slab, and peel over time. Stone fabricators recommend penetrating fluoropolymer or siloxane sealers for long term kitchen protection.
Do all granite countertops need to be sealed?
Not every granite slab requires chemical sealing. Porosity levels vary across different quarry sources, geological ages, and mineral compositions.
Dark granites like Absolute Black, Black Galaxy, and Ubatuba feature extremely high density. Their crystalline structure contains virtually zero open pores. Applying a sealer to these dense stones often creates a hazy surface film because the liquid cannot penetrate the stone.
Light colored granites contain much higher porosity. Varieties such as Kashmir White, Colonial White, and Bianco Romano feature open mineral networks. These lighter stones absorb liquids fast and require thorough sealing every 12 months.
You can verify your counter porosity with a simple water test:
- Pour 3 tablespoons of clean water directly onto an active prep zone of your counter.
- Note the exact start time on your clock.
- Check the puddle at 5 min, 10 min, and 30 min intervals.
- Wipe the water away with a dry paper towel after 30 min.
Observe the stone beneath the water. If the surface darkens within 5 min, your counter is highly porous and needs two coats of sealer immediately. If the area darkens after 15 min, one coat of sealer will provide strong protection. If the stone remains unchanged after 30 min, your slab is naturally dense and does not require sealing at this time.
You can also test for oil sensitivity. Place 3 drops of mineral oil in an inconspicuous corner for 15 min. If a dark shadow forms, you must use an oil repellent fluorochemical impregnator.
Preparation before sealing
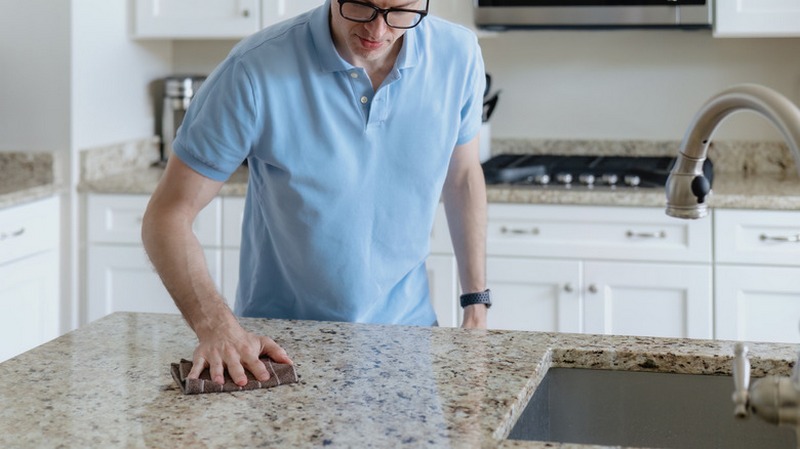
Proper prep work is vital when you reseal granite countertops, as applying chemical treatments over dirty stone locks grease, dust, and mineral deposits deep inside the slab.
- Start by clearing the entire workspace. Remove all small appliances, cutting boards, dish racks, and decorative items. Inspect the slab for silicone adhesive smears, dried food residues, or paint splatters.
- Clean the stone with specialized stone care cleaners. Avoid standard household cleaners, glass sprays, bleach, vinegar, and ammonia. Acidic liquids chemically etch natural stone, while basic detergents leave a greasy soap scum. Use a dedicated pH neutral stone wash diluted in warm water.
- Use a clean microfiber cloth to scrub the slab. For sticky food remnants, use a fresh single edge razor blade held at a 45° angle. Glide the blade across the wet stone gently to scrape away residues without scratching the polish.
- Rinse the counter thoroughly with clean, distilled water to pull away any soap residues. Wipe the perimeter edges, backsplash joints, and sink cutouts carefully.
- Allow the stone to dry completely before opening your sealer bottle. Trapped moisture inside the stone pores blocks the sealer from absorbing. Wait at least 24 hr after deep cleaning before moving forward with application.
Gather these essential application tools:
- 1 bottle of solvent based or water based penetrating granite sealer
- 3 clean, lint free microfiber cloths
- 1 chemical resistant foam paint brush or pump spray bottle
- 1 pair of nitrile gloves
- 1 painter mask for room ventilation
How to seal granite countertops
Homeowners who want to know how to seal granite countertops can complete the job with basic supplies. The entire application process takes approximately 60 min of active labor.
Work systematically across your kitchen in 4 ft by 4 ft sections. Managing smaller surface sections ensures the liquid does not dry prematurely on top of the polished surface.
- Inspect the dry surface under direct light to confirm zero dust remains.
- Put on protective nitrile gloves and open windows to promote continuous fresh airflow.
- Treat perimeter seams and backsplash returns before working across the main counter area.
- Keep children and pets out of the room during chemical application.
Step 1: Test the sealer in a hidden spot
Always test your sealing product before applying it to the entire kitchen. Choose a discrete zone, such as an overhang edge or the area inside an appliance cutout.
Apply a small dab of sealer over a 2″ by 2″ square. Let it sit for 15 min, wipe it clean, and evaluate the spot after 2 hr.
Verify that the stone color remains unaltered and that no white haze or sticky texture develops. Proceed across the main countertop only after confirming ideal test results.
Step 2: Apply the granite sealer evenly
Shake the product container for 10 sec to disperse active chemical solids. Pour the sealer into a clean spray applicator or directly onto the stone surface.
Learning how to apply granite sealer correctly prevents streaks, haze, and uneven saturation. Mist the liquid evenly across your selected 4 ft section until the counter looks wet.
Spread the liquid using a foam brush or microfiber cloth. Ensure the stone surface stays saturated with a visible liquid sheen for 10 min to 15 min. If dry patches appear within 5 min, spray extra product over those areas immediately. The pores must drink in as much sealer as possible during this dwell time.
Step 3: Buff away excess surface sealer
Do not let excess sealer dry out completely on top of your granite. Unabsorbed product will dry into an ugly, sticky residue that requires harsh solvents to remove.
Pick up a clean, dry microfiber cloth after the 15 min dwell period expires. Wipe all remaining wet liquid off the countertop surface using firm circular motions.
Switch to a separate, completely dry polishing cloth. Buff the stone vigorously to remove any microscopic streaks or cloudiness. The stone should feel slick, dry, and mirror polished.
Step 4: Apply a second coat on porous slabs
Highly porous stones benefit from a 2nd application to seal leftover capillaries. Wait 20 min after buffing the 1st coat before starting the 2nd layer.
Apply the 2nd coat using the exact same saturation and buffing method. Porous stones absorb the 2nd coat quickly, so inspect the surface closely during application.
Buff the entire surface completely dry with fresh microfiber towels. Ensure no wet puddles remain around faucet bases or under countertop edges.
Step 5: Cure the surface completely
Chemical bonding requires uninterrupted curing time. Keep the treated counter completely dry and free from contact for at least 2 hr.
Full chemical cure takes between 24 hr and 48 hr, depending on ambient humidity and room temperature. Avoid cooking, cutting, or setting wet dishes on the stone during this 48 hr curing window.
How to reseal granite countertops
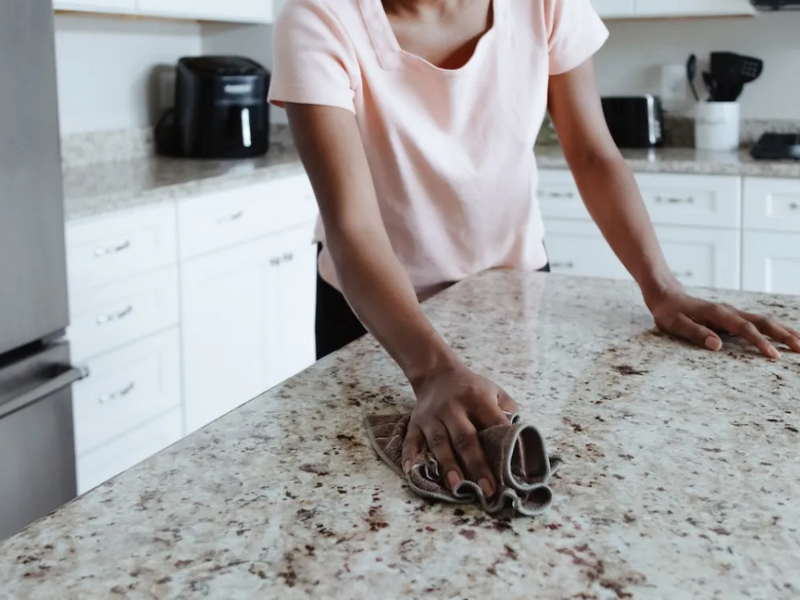
Granite sealers degrade slowly due to friction, cooking splatter, and daily cleaning detergents. Understanding how to reseal granite countertops involves identifying signs of wear and repeating the application process.
High wear zones around the kitchen sink and near the cooktop lose their protective seal faster than decorative backsplashes. Water splashing from the sink dissolves protective chemical compounds over time.
Homeowners should reapply protection whenever water stops beading on high-use work zones. Run the 30 min water drop test every 6 months to monitor barrier strength. If water creates a dark wet mark in under 10 min, plan a resealing session.
Resealing follows the same basic procedure as the initial seal. However, you must first strip away old oil deposits and cooking residues using a deep clarifying stone cleaner.
Clean the counter thoroughly, wait 24 hr for complete internal drying, and apply 1 generous coat of penetrating impregnator. Buff the counter dry within 15 min to preserve maximum clarity and sheen.
Post-care and maintenance tips
Smart daily habits extend the working life of your granite sealer by several years. Treating your counter with care protects both the stone structure and the sealer barrier.
- Clean up liquid spills immediately. Blot wine, coffee, mustard, and cooking oils with a paper towel rather than wiping them across the slab. Blotting contains the mess to 1 spot and stops fluids from spreading into adjoining pores.
- Use dedicated pH neutral stone care sprays for daily kitchen cleanup. These specialized formulas remove surface dirt without degrading the fluoropolymer sealer network. Plain warm water and a clean microfiber rag also work well for light cleanup.
- Avoid abrasive scrubbers and aggressive chemicals. Steel wool, scouring powders, scouring pads, bleach, and oven cleaners will strip the sealer and scratch the factory polish. Never cut food directly on granite; always place a dedicated cutting board under kitchen knives.
- Place coasters under beverage glasses, especially those containing alcohol, coffee, or citrus juices. Set cooking pots, hot pans, and baking dishes onto protective trivets to prevent thermal shock to the slab.
Frequently Asked Questions
How do you seal granite countertops?
▼
Clean the stone with a pH neutral cleaner and allow it to dry for 24 hr. Spray a penetrating stone sealer evenly across the slab until the surface stays wet for 15 min. Buff away all remaining surface moisture with a clean, dry microfiber cloth. Allow the sealer to cure undisturbed for 24 hr to 48 hr before using the counter.
What do you seal granite countertops with?
▼
Use a penetrating impregnating sealer formulated specifically for natural stone. Impregnators based on fluoropolymer or siloxane carriers enter the stone pores without leaving a cloudy plastic film on top. Choose solvent based sealers for maximum oil resistance, or water based sealers for easier indoor ventilation and lower VOC emissions.
How often should you seal granite countertops?
▼
Most kitchen granite countertops need resealing every 12 to 24 months. Light colored and highly porous granites may require resealing every 6 to 12 months. Dense, dark granites can often go 3 to 5 years between sealer applications. Perform the water droplet test twice per year to check your stone protection.
How do I reseal my granite countertops?
▼
First, wash the counter thoroughly to eliminate surface grease and mineral scale. Allow the slab to dry completely for 24 hr so the pores empty out. Apply a fresh layer of penetrating impregnator, allow it to absorb for 15 min, and buff the stone completely dry. Test water absorption every 6 months to evaluate your protective barrier.
Can you seal granite yourself?
▼
Yes, applying granite sealer is an easy DIY project for homeowners. The task requires no specialized tools beyond a penetrating sealer, a spray applicator, and clean microfiber cloths. The entire active application process takes under 60 min for an average kitchen countertop.