
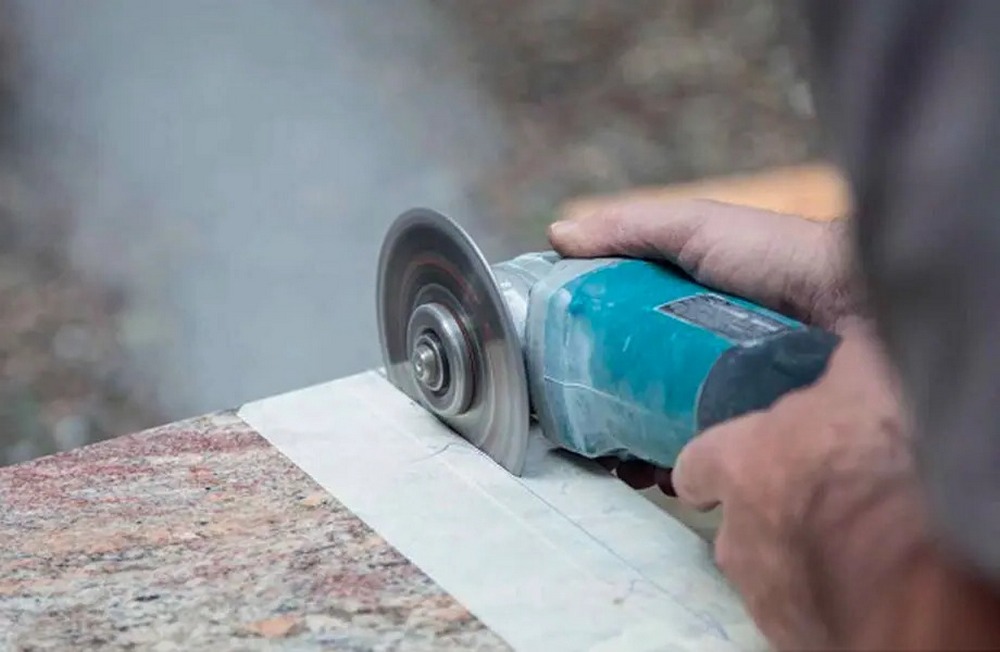
Granite remains one of the densest, most durable natural stone materials in residential construction. Modifying a slab requires specialized equipment, proper planning, and strict technique. When homeowners or contractors take on cutting granite countertops, the main goal is executing clean edges without cracking the slab or causing micro-fissures along the cut line.
This guide details every stage of the cutting process, from tooling selection and workspace preparation to precise motorized cuts, manual methods, and edge refinement.
Can you cut a granite countertop?
Yes, you can cut a granite countertop on site without sending it back to an industrial fabrication shop. However, granite rates between 6 and 7 on the Mohs hardness scale. It consists primarily of quartz, feldspar, and mica. Because of this density, standard carbide or steel blades cannot penetrate the stone; they will overheat, dull instantly, and ruin the work piece.
Cutting granite requires diamond-grit tooling and continuous vibration control. Straight cuts for sink drop-ins, cooktop cutouts, and edge trimmings are fully achievable for DIYers with proper safety gear. Complex curved profiling or cutting large 3 cm slabs without support remains risky and requires careful handling.
Essential granite cutting tools & equipment
Working with natural stone demands specific granite cutting tools that dissipate heat and grind through mineral crystals rather than tearing them.
Gather these essential tools and safety supplies before starting:
- Standard circular saw (15 A motor minimum) or a dedicated wet stone saw
- Angle grinder (4½″ or 5″) with variable speed settings
- Diamond masonry blades (continuous rim for wet cuts, turbo-rim for dry cuts)
- Heavy-duty C-clamps or bar clamps with rubber protective pads
- Rigid straight edge (aluminum guide rail or ¼″ steel bar)
- Painter’s tape or blue masking tape (2″ width)
- Continuous water supply (garden hose with mist nozzle or gravity-fed bottle)
- Diamond polishing pad kit (50, 100, 200, 400, 800, 1500, and 3000 grit)
- Dual-cartridge respirator (P100 rated for respirable crystalline silica)
- Safety goggles and ANSI-rated face shield
- Heavy-duty work gloves and hearing protection
How to prepare a granite countertop for cutting
Preparation prevents structural breakage. Natural stone contains internal stress lines and natural veins that can snap if unsupported during cutting operations.
- Build a rigid cutting base: Set up 2 stable sawhorses. Lay a ¾″ sheet of exterior plywood across the horses, then top it with a 2″ layer of rigid extruded polystyrene (XPS) foam board. The foam supports the slab continuously along its entire length, catching the drop-off piece so it does not break off under its own weight before the cut finishes.
- Lay the slab flat: Place the granite top-side up on the foam board. Ensure the entire length of the intended cut is supported beneath the stone.
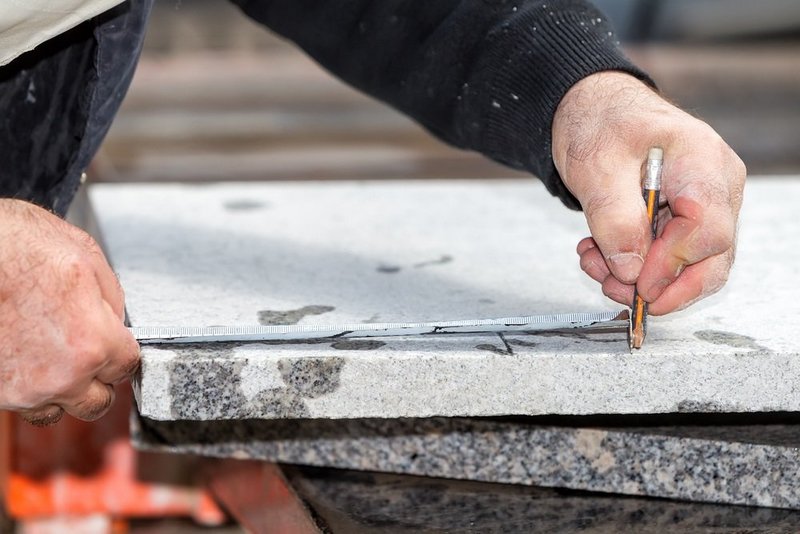
- Map the cut lines: Measure the dimensions at least 3 times. Stick 2″ wide painter’s tape directly over the cut area. Draw the precise pencil or marker line onto the tape. The tape prevents chipping on the top polished surface and provides high visual contrast against dark stone.
- Position the straight edge: Place the metal guide rail parallel to your line. Offset the rail by the exact distance between the edge of your saw base plate and the blade face (typically 1½″ to 3½″ depending on the saw). Clamp the straight edge tightly to both the stone and the underlying plywood base.
How to cut a granite countertop
Follow this sequence on how to cut granite countertop slabs safely to achieve factory-grade edges.
Step 1: Set up the water delivery system
Granite dust contains crystalline silica, which causes permanent lung damage when inhaled dry. Water cools the blade and suppresses dust completely. Position a small hose nozzle to spray a light, constant stream of water directly onto the front edge of the blade where it meets the stone. If working outdoors without running water, have an assistant direct a continuous stream from a garden pump sprayer.
Step 2: Make the back relief notch
Granite frequently shears off during the final ½″ of a cut because the remaining material lacks structural support. To prevent breakout on the back edge, start your saw at the exit point of the cut. Run the blade backward into the stone for 1″ to 2″ at full depth, then stop the saw. When your primary forward pass reaches this relief cut, the blade will finish smoothly into open air without snapping the corner.
Step 3: Score the surface line
Never attempt to slice through a 2 cm or 3 cm slab in a single rapid pass. Set your granite saw machine blade depth to roughly ¼″ (6 mm). Start the saw, let it reach full operating speed, turn on the water stream, and glide the saw base smoothly against the guide rail. This initial shallow pass scores the polished stone surface cleanly and sets the track for deeper cutting.
Step 4: Complete progressive step cuts
Lower the blade by ½″ (12 mm) for the next pass. Walk the saw along the guide rail with light, even forward pressure. Let the diamond crystals do the grinding; do not lean your body weight into the saw. Repeat this process in ½″ depth increments until the blade cuts completely through the granite into the top ½″ of the foam insulation board.
Step 5: Smooth and bevel the cut edge
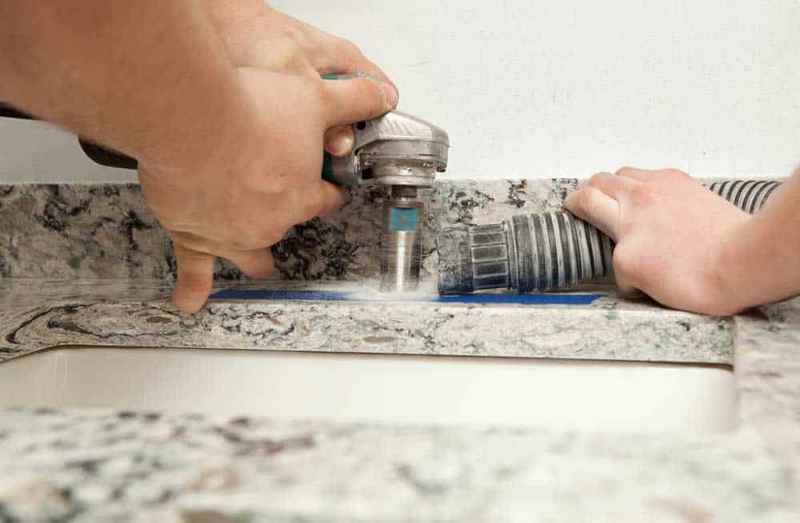
Unclamp the guide rail and remove the tape. The fresh cut will have minor ridges. Attach a 50-grit diamond cup wheel to your variable speed angle grinder. Hold the grinder at a 90° angle to true the vertical cut face, or tip it at a 45° angle to create an intentional ⅛″ micro-bevel (chamfer) along the top edge. This bevel removes microscopic chips and prevents future impact fractures.
Step 6: Polish the exposed stone
Mount flexible diamond polishing pads onto your grinder backer pad. Set the grinder speed between 2000 rpm and 4000 rpm. Keep the stone wet and work through the grit sequence systematically: 50, 100, 200, 400, 800, 1500, and 3000 grit. Spend roughly 60 s per linear foot with each grit. Wipe the edge clean between grit changes to avoid dragging coarse particles into fine polishing stages.
How to cut granite by hand
While motorized saws handle standard fabrication, learning how to cut granite by hand is necessary for tight corner cutouts, custom notch fittings, or locations where power tools cannot safely maneuver.
Manual stone cutting relies on controlled scoring, progressive chiseling, and diamond hand-lapping:
- Deep scoring: Use a carbide-tipped or diamond-tipped hand scoring scribe against a steel rule. Scribe the line firmly 20 to 30 times until a groove roughly 1 mm deep forms in the top glaze.
- Pitching and chiseling: For cutting thick slabs manually, stone fabricators use a pitching tool and a 2 lb dead-blow stone hammer. Place the wide, flat edge of the stone chisel into the scored track. Tap the chisel lightly along the line from 1 side to the other to build internal stress, then strike with firm, controlled taps until the stone cleaves along the score.
- Hand profiling: Once the bulk piece drops away, level down uneven protrusions using a 60-grit electroplated diamond hand rubbing block. Wet the stone continually during hand-sanding to clear the ground slurry.
How to cut granite with different tools
Different cuts require different machines. Match the tool to the specific cut geometry:
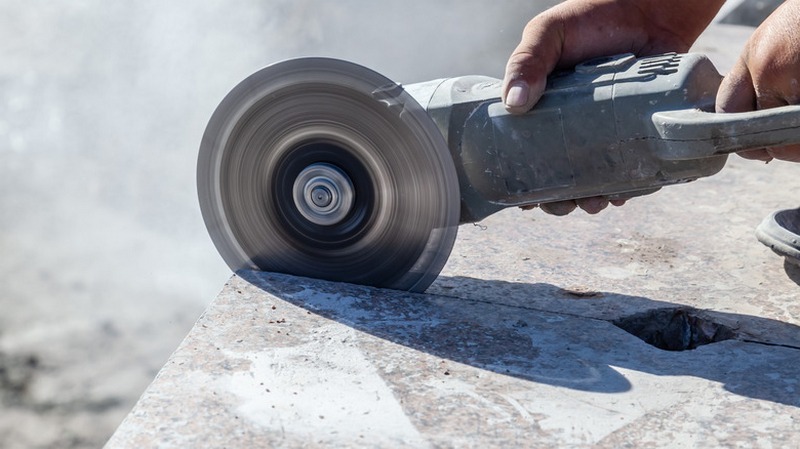
- Circular saw: The primary field tool for long, straight perimeter cuts. Fit it with a 7¼″ continuous-rim diamond blade. Use a GFCI-protected cord whenever running water cooling setups.
- Angle grinder: Best for sink cutouts, cooktop openings, and tight radii. A 4½″ grinder paired with a turbo-mesh diamond blade can make plunging cuts through 3 cm granite quickly.
- Dedicated granite cutter: A specialized handheld wet stone saw designed with built-in water feed lines, base-plate depth adjustment, and high-torque motors geared down to 4000 to 5000 rpm to eliminate diamond blade glazing.
- Stationary saw machine: Bridge saws and rail saws used in professional fabrication shops. These machines use 14″ to 16″ blades on rigid overhead bridge beams, delivering 100% true vertical cuts with integrated water recycling beds.
Common mistakes to avoid when cutting granite
Stone fabrication leaves little room for error. Avoid these frequent mistakes during the cutting process:
- Dry cutting without silica control: Dry cutting generates clouds of toxic silica dust and overheats the blade core, which causes diamond segments to detach.
- Forcing the blade: Pushing the saw faster than the diamonds can abrade the quartz causes blade deflection, leaving crooked cuts and burning the blade matrix.
- Unsupported drop-offs: Allowing the waste cutoff piece to hang in the air without support causes it to snap off early, tearing away a chunk of the finished slab.
- Using wood cutting blades: Standard abrasive wheels or carbide teeth will shatter upon contacting granite, creating an immediate projectile hazard.
- Skipping progressive depths: Attempting to cut 3 cm stone in a single pass overloads handheld tools and causes edge chipping.
- Skipping the relief cut: Cutting forward without a pre-cut back exit notch almost always breaks the final corner off the slab.
Frequently Asked Questions
How do you cut granite countertops?
▼
Can you cut granite without water?
▼
How hard is it to cut granite?
▼
How do you prevent granite from chipping during a cut?
▼
What is the best tool to cut granite countertops with?
▼